Hallo allemaal, Leo hier. Today we will talk about planning animations in SwiftUI.
The past week I was very busy and couldn’t sleep very well since I was awake for more extended periods at night that was also an opportunity to study topics that I usually don’t touch because of lack of time. I discovered Alex Lementuev who is Staff Engineer at Google that has a really great YouTube channel about mobile system design. It is interesting how people try to solve really intricate app problems such as “how to create Spotify” or “Design a payment system for an app that should work in hundreds of countries“.
I was especially interested in the payment system. The approach the guy took was very interesting. First speaking about what the system should do, and then trying to figure out how the app would interact with the payment system. For sure, I wouldn’t go better than the guy and it was a good learning opportunity about how to approach a problem.
When you grow up, you start to realize how time is precious and how much time was wasted doing things that wouldn’t bring any net positive value to your life. When I was a child I spend thousands of hours playing super smash bros. Although it was a lot of fun, what would happen if I just spend half of it on Smash bros and the other half learning how to play piano (yes that was the teenage me)?
Nowadays I’m trying to be really mindful of what/how to spend time. I know my priorities and I try to spend my time consciously (most of the time).
Going back to SwiftUI. I really like animations, I agree that they bring freshness and life to our apps and are a great way to entertain the user while things are loading for example. This article I’ll be somewhat of a continuation of the first one about animating masks, and I strongly advise if you do not know how to animate them, you should go into the first one before this.
And to finish this intro, lately, I was exploring the navigation bar and how to customize it. First doing the painful task of changing its color in every SwiftUI version. And then inserting toolbar items on it, and even native menus! I hope you like those.
No more talking, let’s code! But first…
Painting of the Day
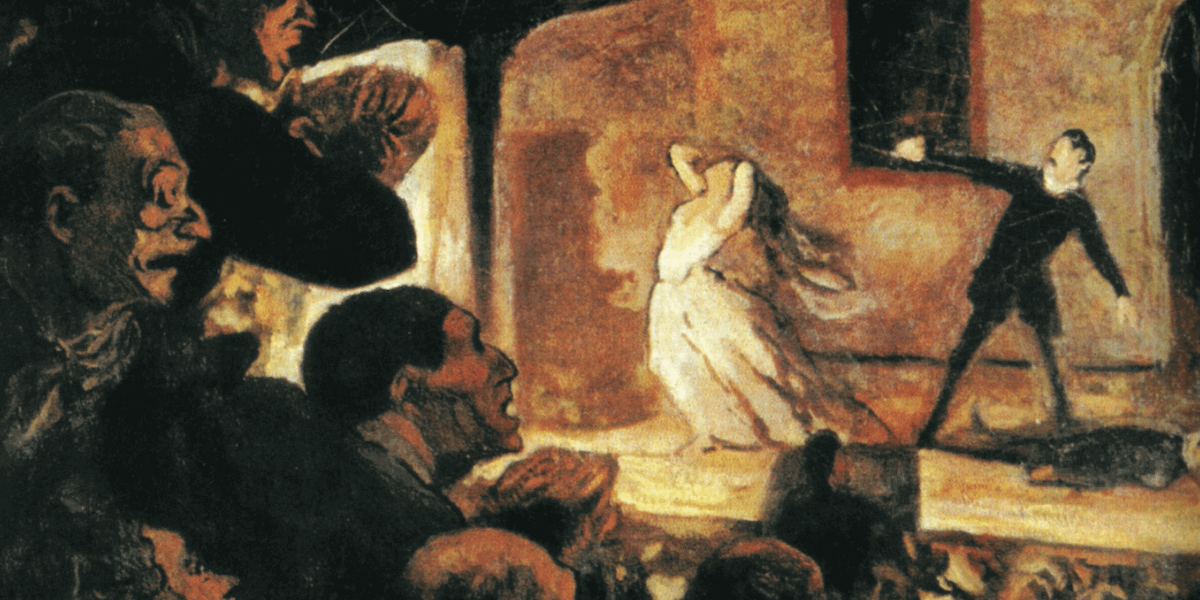
The painting I chose today is a 19th-century painting called Theater by Honore Daumier.
They called him the “Michelangelo of Caricature” ’cause he was super good at painting, printmaking, sculpting, and making funny drawings. He made over 4,000 lithographs in his life, mostly poking fun at politicians and snobby people. As a kid, he was into art, but his dad didn’t approve of it and made him work as an usher. Still, Daumier couldn’t help being awesome at art, so he ended up working at a bookstore and eventually met this artist/archaeologist guy, Alexandre Lenoir. That’s when he started learning lithography and began his career making stuff for music peeps and ads.
I chose this art today because the theater was the seed for what shows we watch now on the tv.
The Problem – Planning Animations in SwiftUI
You were asked to create a view fade out animation that is similar to what old televisions did when they turn off.
Like this:
I was trying to do that in SwiftUI. And I could achieve something very similar using masks:
Let’s do that!
Let’s first explore my approach to iOS animations.
My Approach to Planning Animations
In this section, we’ll dive into what is the process that I use to create my own animations. Is this the best? For sure it is not, but it works for me.
Every time I have to create an animation in iOS I think about three main topics.
- Natural feel
- Speed
- Animation Steps
If you already had some experience with animations you know that a natural feel often comes from Spring animations. That is because in reality things bounce and when we see something moving on the screen we expect that replicate what we see in the real world.
That said, we also don’t expect the bounciness from things, for example, a machine moving a mechanical arm is extremely precise we don’t expect bouncing movements from it. That is the same approach that we will use for the animation today. As we will create an animation that is a copy of an old television animation we don’t need to use spring movement there.
Regarding animation speed, timing things in animations is hard. The only tip I could give here is that usually animations are really FAST. If you played with animations in your life you have probably already seen the effect of a really slow animation on the iOS screen. It is very cringe, and let’s try to avoid that.
Planning Animation Steps
The next thing to think about is the animation steps. Planning animation steps beforehand is important in SwiftUI because it can help you create more effective and efficient animations that look and feel polished.
Here are some reasons why planning animation steps is important in SwiftUI:
- Efficiency: Planning animation steps beforehand allows you to optimize the performance of your animations. You can identify unnecessary animations and avoid re-rendering the entire view hierarchy each time the animation is run. This can lead to faster and smoother animations.
- Clarity: Planning the animation steps allows you to break down the animation into smaller, manageable parts, making it easier to understand and modify. It also helps you to identify any potential problems in the animation, such as conflicting animations or unwanted effects.
- Design: Planning animation steps beforehand helps you to think about the design and style of the animation. You can experiment with different ideas, adjust timing and duration, and see how the animation will look and feel in different contexts.
- User Experience: Animations play an important role in the user experience, and planning the animation steps can help you to create a more engaging and delightful experience for the user. It can also help to communicate the purpose and function of the animation more effectively.
Today animation should follow the next steps:
- Decrease the height of the view animated going to the middle until it has only 2% of its original height. While decreasing the height the view should become white.
- Decrease the view width going from the borders to the middle until it has only 2% of its original width.
- Replace the white view with a circle view and expand the circle.
- Expand the circle view.
- Decrease the size ( width and height) until it fades await completely.
Accomplishing this creates a plan on how to animate the view on the screen.
Let’s code it now!
SwiftUI Turn Off TV Animation Example
Open your Xcode and start a new SwiftUI project.
Copy and paste the code below and I will explain it later:
import SwiftUI

struct ContentView: View {
    var body: some View {
        ZStack {
            Color.blue
                .ignoresSafeArea()
            TurnOffTelevisionView(size: CGSize(width: 200, height: 200))
        }
    }
}

struct TurnOffTelevisionView: View {
    @State var maskHeight: CGFloat
    @State var maskWidth: CGFloat
    @State var overlayOpacity = 0.0
    @State var showCircle = false
    private let size: CGSize

    init(size: CGSize) {
        self.size = size
        maskHeight = size.height
        maskWidth = size.width
    }

    var body: some View {
        VStack {
            Image(systemName: "tv")
                .resizable()
                .frame(width: size.width, height: size.height)
                .overlay {
                    Color.white
                        .opacity(overlayOpacity)
                }
                .mask {
                    VStack {
                        Spacer()
                        if showCircle {
                            Circle()
                                .opacity(showCircle ? 1 : 0)
                                .frame(width: maskWidth, height: maskHeight)
                        } else {
                            RoundedRectangle(cornerRadius: 3)
                                .opacity(showCircle ? 0 : 1)
                                .frame(width: maskWidth, height: maskHeight)
                        }

                        Spacer()
                    }
                }.onAppear {
                    withAnimation(.easeIn(duration: 0.4).delay(1)) {
                        maskHeight = maskHeight - ( maskHeight * 0.98 )
                        overlayOpacity = 1
                    }

                    withAnimation(.easeIn(duration: 0.1).delay(1.4)) {
                        maskWidth = maskWidth - (maskWidth * 0.98)
                    }

                    withAnimation(.linear(duration: 0.05).delay(1.8)) {
                        showCircle = true
                    }

                    withAnimation(.easeOut(duration: 0.1).delay(1.85)) {
                        maskWidth = maskWidth * 8
                        maskHeight = maskHeight * 8
                    }

                    withAnimation(.linear(duration: 0.1).delay(1.95)) {
                        maskWidth = 0
                        maskHeight = 0
                    }
                }
        }
    }
}

struct ContentView_Previews: PreviewProvider {
    static var previews: some View {
        ContentView()
    }
}
The TurnOffTelevisionView initializes maskHeight and maskWidth with the provided size parameter. It then defines a VStack with an Image of a television. The television image is resizable and has a frame size of size.width by size.height. The television image is also overlaid with a white color that has an opacity that is controlled by overlayOpacity. The overlay is then masked with either a circle or a rounded rectangle based on the value of showCircle. The size of the mask is controlled by maskHeight and maskWidth.
The TurnOffTelevisionView defines an onAppear block that contains five animation blocks that animate the maskHeight, maskWidth, overlayOpacity, and showCircle variables to simulate turning off the television. The onAppear SwiftUI view lifecycle is used to trigger a series of animations that change the size and opacity of the mask and the overlay to simulate turning off the television.
The first animation reduces the maskHeight and sets the overlayOpacity to 1, the second animation reduces the maskWidth, the third animation shows the circle mask, the fourth animation increases the maskWidth and maskHeight, and the fifth animation sets the maskWidth and maskHeight to 0.
See how easy is to create a simple but fun animation of turning off a television?
That’s it for today!
Summary – SwiftUI Sequential Animations with Mask
So, animations are pretty cool, huh? They add a little swooosh to your user interface and make things more fun and engaging for your users. And with technologies like SwiftUI, it’s easier than ever to add animations to your app or website.
But don’t just slap some random animations on there and call it a day. You need to plan that stuff out, optimize performance, and make sure the animation matches the user’s needs and expectations. That’s how you make it really shine and enhance the overall user experience.
So get creative with those animations and have some fun with them! With the right mindset and approach, you can make your product stand out and give your users something to smile about.
Fellow Apple Developers, that’s all.
I hope you liked reading this article as much as I enjoyed writing it. If you want to support this blog you can Buy Me a Coffee or say hello on Twitter. I’m available on LinkedIn or send me an e-mail through the contact page.
You can likewise sponsor this blog so I can get my blog free of ad networks.
Thanks for the reading and… That’s all folks.
Image credit: Featured Painting


