Hallo allemaal, Leo hier. The topic today is the new KeyboardLayoutGuide and how you can use it to move views when the keyboard appears.
I’m very happy. This article brings joy to my soul and you’ll know why after a brief story. We will explore a new way, I mean iOS 15 and above, to tackle a very old problem which is how to manipulate the UITextField position when the keyboard appears.
After a long time of studying iOS development, I started to apply for junior positions in the area. I can remember that I sent a lot of curriculums around but with no luck. One day I got an interview for a famous bank in my home country, I was so excited. Everything went well in the first phase and then I got into the part where I need to do a little project demonstrating how I would tackle a problem.
It was a big challenge for me because they set time constraints and I had one weekend to do everything. Was all good until I got stuck into something that I bet a lot of iOS developers also have problems with. In my design, I put a UITextField at the bottom of the screen, and when the keyboard appears it overlaps the entire field. Well, the only thing I remember is that I spend more time trying to solve this thing than doing the rest of the challenge itself.
The first opportunity is not easy, but you can do some tricks to get your first shot. Maybe someday I could write about how could you get your first interview, but now let’s tackle that keyboard appearing problem.
Last but not least, before starting to tackle a problem try to think outside the box. For example: In my story, I could simply change the UITextField position to a higher place on the screen.
Let’s code! But first…
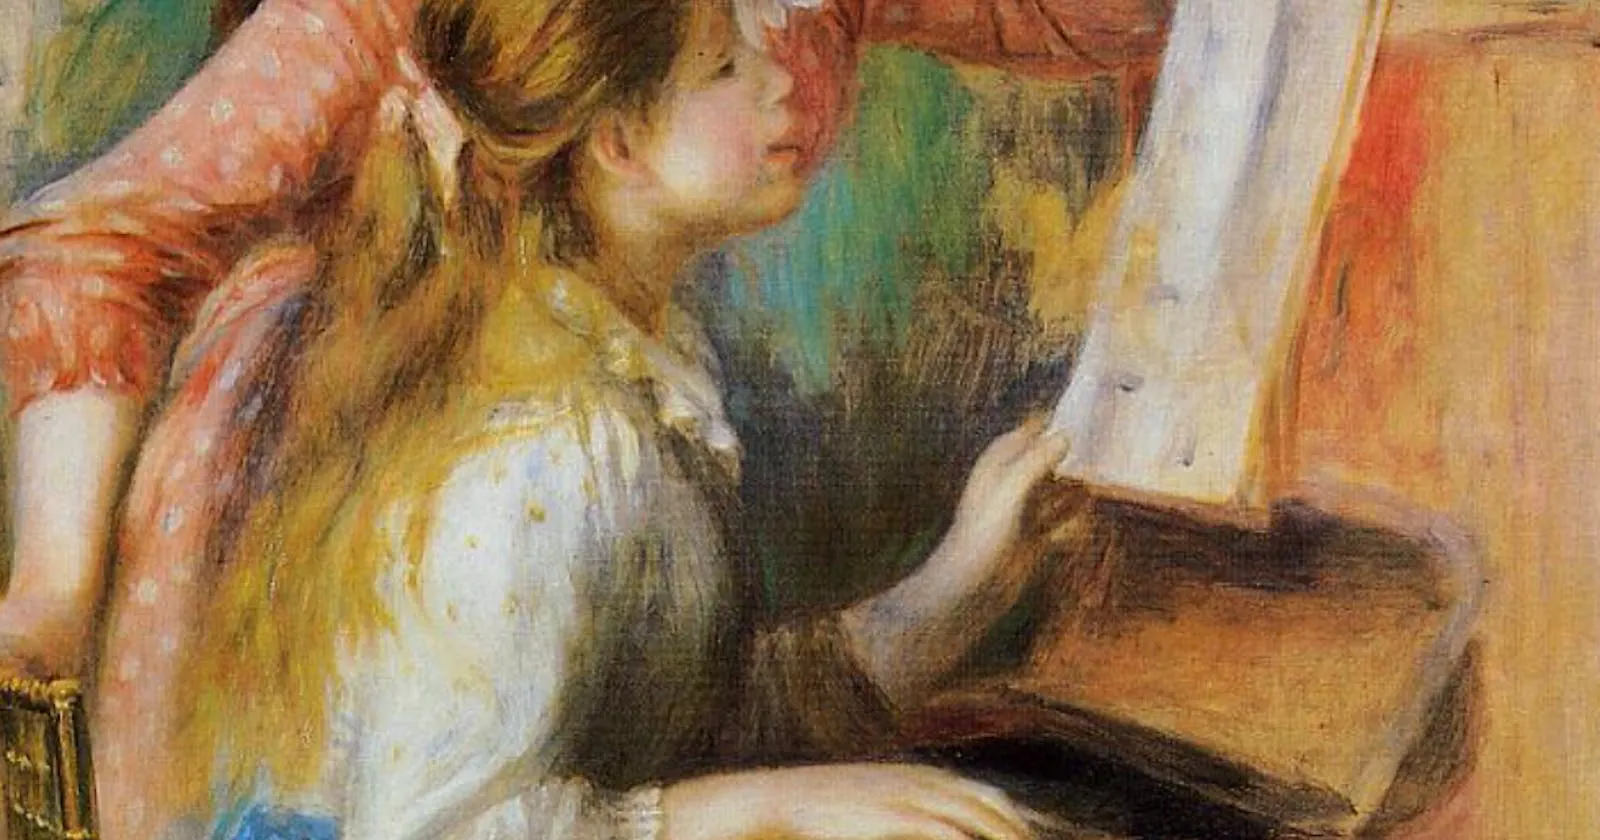
Painting of The Day
Today I chose an 1892 painting called Girls at the Piano done by the master Pierre-Auguste Renoir. A founding member of the Impressionists, Renoir stopped exhibiting with the group after 1877.
After a series of rejections by the conservative Salon de Paris, Renoir and a group of like-minded artists (including Claude Monet, Edouard Manet, Edgar Degas, Paul Cezanne, and Camille Pissarro) formed the Anonymous Society of Painters, Sculptors, and Engravers, later known as the Impressionists. He continued to exhibit with the Impressionists at their second and third exhibitions but, thereafter, returned to submitting works to the Salon. By this time a successful and in-demand painter, Renoir expressed skepticism about the durability of the Impressionist aesthetic.
I chose this painting because the theme today is keyboards. Although I don’t play piano, I work with a keyboard every day.
The Problem – How to use KeyboardLayoutGuide API
You have a screen that when the keyboard appears covers the responding UITextField.
Our target is to achieve the result below:
The new API is called: keyboardLayoutGuide. It is a way to constrain Views to the Keyboard, meaning that you don’t have to worry anymore if your UITextField will be covered by the keyboard. You don’t have to worry about if any of your views will be covered by the keyboard because you could set constraints on all of your views if you wanted to.
Let’s have the minimum configuration for your UIViewController after I’ll explain the new APIs:
class ViewController: UIViewController {

    private let textField = UITextField()

    init() {
        super.init(nibName: nil, bundle: nil)
    }

    required init?(coder: NSCoder) {
        fatalError("init(coder:) has not been implemented")
    }

    override func viewDidLoad() {
        super.viewDidLoad()
        view.backgroundColor = .white
        view.keyboardLayoutGuide.followsUndockedKeyboard = true // Mark 1
        configureView()
    }

    private func configureView() {
        [textField].forEach {
            view.addSubview($0)
            $0.translatesAutoresizingMaskIntoConstraints = false
        }

        textField.borderStyle = .bezel

        NSLayoutConstraint.activate([
            textField.widthAnchor.constraint(equalToConstant: 200),
            textField.heightAnchor.constraint(equalToConstant: 20),
            textField.centerXAnchor.constraint(equalTo: view.centerXAnchor)
        ])

        let textFieldOnKeyboard = view.keyboardLayoutGuide.topAnchor.constraint(equalTo: textField.bottomAnchor, constant: 100) // Mark 2
        view.keyboardLayoutGuide.setConstraints([textFieldOnKeyboard], activeWhenAwayFrom: .top) // Mark 3
    }
}
As you can check, is a minimum configuration for a UITextField. The only thing that is more important to look at is the constraints are set without the bottom constraint because we will set the bottom constraint relative to the keyboardLayoutGuide. Besides that, is a pretty much regular setup.
Let’s explain all the marks.
- The first mark is to enable the
keyboardLayoutGuideconstraints to be set. This is important because we are telling the view that: “Hey maybe something changes when the keyboard is undocked from the bottom of the screen!”. - Mark 2 is where we create the constraint. This constraint tells the layout how far you want to stay from the keyboard, always. This is how iOS knows to change the
UITextFieldposition relative to the keyboard. - And Mark 3 is where you can activate the constraint created in Mark 2.
It’s important to notice that the activeWhenAwayFrom part is crucial for the right UI constraints behavior. For example: if you change to activeWhenNearEdge argument you should also change from top to bottom.
The result you should see is the one at the beginning of the article.
And we are done!
Summary – KeyboardLayoutGuide Tutorial
Today we checked the new constraints API and how it can facilitate your development. Keep in mind that this post is just an introduction, and take it as food for thought. There’s not only one way to solve a problem, and always keep your mind open.
That’s all my people, I hope you liked reading this article as much as I enjoyed writing it. If you want to support this blog you can Buy Me a Coffee or leave a comment saying hello. You can also sponsor posts and I’m open to freelance writing! You can reach me on LinkedIn or Twitter and send me an e-mail through the contact page.
Thanks for reading and… That’s all folks.
Credits:


