Hallo koningen en koninginnen, Leo hier. Today we will explore TimelineView and Canvas in SwiftUI.
The TimelineView is very straightforward and a great addition to iOS 15, it is just a view that updates according to a preset scheduler that you can provide. This scheduler can be fixed dates in the future, or a simple animation scheduler that will animate changes inside the TimelineView, and can also repeat in recurring intervals.
As you can imagine this view is perfect for doing animations because the intrinsic nature of animation is that is something that changes over time, and since this view tries to redraw its contents every time the scheduler fires we can use that to animate stuff.
Another significant improvement in the quality of life of SwiftUI developers in iOS 15 was the release of the Canvas View, which allows you to, guess what, draw anything that you want with paths.
Last week, I wrote about creating a mini-game using SwiftUI where I also use animations there, it is interesting how far can you go with just one function of the view.
Another cool SwiftUI animation project is how to animate a background of a button. In this one, we use trim to cause a gauge effect to the background of a button.
You can imagine that Canvas and TimelineView mix is bombastic. I mean, we have one tool that can trigger redraw behavior in our SwiftUI views and a View that literally draws something on the screen. The limit is your imagination!
Let’s code, but first…
Painting of the Day
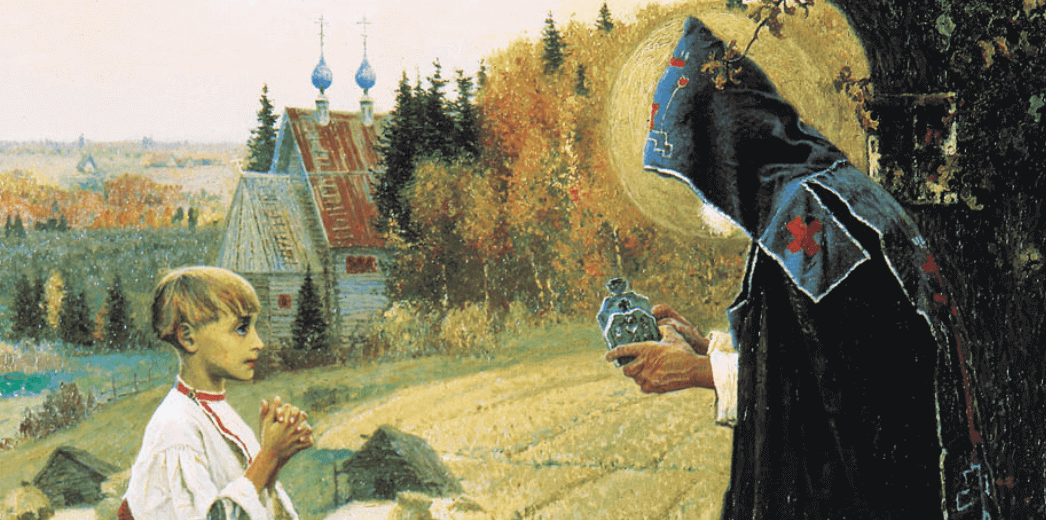
The painting is called The Vision of the Young Bartholomew and is an 1890 painting by Mikhail Nesterov.
This is the first and best-known work in his series on Sergius of Radonezh, a medieval Russian martyr. The painting illustrates an episode from “The Life of St. Sergius” by Epiphanius the Wise.
The picture of St. Sergius of Radonezh, near and dear to the artist since childhood, was the manifestation of the moral pinnacle for Nesterov. Particularly important role Nesterov gave St. Sergius in mobilizing the Russian people.
I chose this painting because when I discover new tools to use in SwiftUI, I feel like the child receiving a new toy to play.
The Problem – How to create a sound wave animation in SwiftUI?
You want to draw an animated Sound wave with SwiftUI
The final product that we want to achieve is this:
Let’s dive into the code.
TimelineView Animation in SwiftUI
To create this kind of animation we will use the animation scheduler.
Check the full example below:
import SwiftUI

struct ContentView: View {
    @State var frameSize = CGFloat(20)

    var body: some View {
        VStack {
            WaveView()
                .frame(width: 75, height: 200)
        }
        .padding()
    }
}

struct WaveView: View {
    var body: some View {
        TimelineView(.animation) { timeline in // Mark 1
            Canvas { context, size in // Mark 2
                let angle = Angle.degrees(timeline.date.timeIntervalSinceReferenceDate.remainder(dividingBy: 4) * 180) // Mark 3
                let cos = (cos(angle.radians)) * 11 // Mark 3
                let sin = (sin(angle.radians)) * 9 // Mark 3

                let width = size.width
                let height = size.height

                context.fill(Path(CGRect(origin: .zero, size: size)), with: .color(.white)) // Mark 4

                let path = Path { path in // Mark 5
                    path.move(to: CGPoint(x: 0 , y: size.height/2 ))

                    path.addCurve(to: CGPoint(x: width, y: size.height/2),
                                  control1: CGPoint(x: width * 0.4 , y: height * 0.2 - cos),
                                  control2: CGPoint(x: width * 0.6 , y: height * 0.8 + sin))
                }

                context.stroke( // Mark 7
                    path,
                    with: .linearGradient(Gradient(colors: [.red, .blue]),
                                          startPoint: .zero ,
                                          endPoint: CGPoint(x: size.width, y: size.height)
                                         ), lineWidth: 2
                )
            }
        }
    }
}

struct ContentView_Previews: PreviewProvider {
    static var previews: some View {
        ContentView()
    }
}
Resulting in:
Let’s deep dive into each of the marks.
- You can use the animation scheduler as I used in the “.animation” to animate anything inside the TimelineView. You can also use other built-in schedulers for example the explicit scheduler for updating a timeline at specific points in time, the periodic scheduler to update a timeline in regular intervals, or even the everyMinute scheduler to update every minute. You can also create a custom scheduler for very specific use cases conforming to the time TimelineSchedule.
- In the Canvas View we receive two things to work with, the context that we will use to draw stuff and the size, that is the available size of our drawing.
- Each time the TimelineView fires the closure receives a new timeline context object. That object contains the new date and with that, we can extract an angle using the time interval since the reference date.
- In this line, we are painting all the background of the canvas view with white color.
- In this mark, we start the path that will actually draw our line. Using the Path here is very easy because we have everything that we need, we have the size of the view and a path inside the closure.
- In the final mark, we are using the stroke function to create the line with a line width of 2.
That’s how you can create a sound wave animation using SwiftUI only in iOS 15. Really cool, right?
Using TimelineView to trigger Redraw in Nested Views using MatchedGeometryEffect
You can also use the TimeLine View to trigger a redraw behavior in other views. How to use TimelineView to do that and how to use matchedGeometryEffect?
Check the example below:
struct ContentView: View {
    var body: some View {
        VStack {
            TimelineView(.animation) { context in
                VStack {
                    WaveView()
                        .frame(width: 405, height: 200)
                    WaveView()
                        .frame(width: 200, height: 150)
                    WaveView()
                        .frame(width: 50, height: 100)

                    MyCustomView(timeInterval: context.date.timeIntervalSince1970)
                }
            }
        }
        .padding()
    }
}

struct MyCustomView: View {
    var timeInterval: TimeInterval
    @Namespace private var namespace

    var body: some View {
        Group {
            let isCircleCentered = floor(timeInterval.truncatingRemainder(dividingBy: 2)) == 0

            if isCircleCentered {
                Circle()
                    .matchedGeometryEffect(id: "shape", in: namespace)
                    .frame(width: 200, height: 200)
            }

            Spacer()

            if !isCircleCentered {
                HStack {
                    Spacer()
                    Circle()
                        .matchedGeometryEffect(id: "shape", in: namespace)
                    .frame(width: 80, height: 80)
                }
            }
        }.animation(.linear, value: timeInterval)
    }
}

struct WaveView: View {
    var body: some View { [...]
    }
}
In the example above we are using MyCustomView initializer to receive a timeInterval (aka Double). With that in hand, we can use a Group View with the animation modifier to respond to the changes inside the MyCustomView body and animate them!
The magic is done by the matchedGeometryEffect in the Circle Views. That thing tells SwiftUI that both views are the same, and if there’s an animation to be done you should transform one into another. The matchedGeometryEffect also needs a @Namespace to work, so we had to add to the properties of the view.
The final result is:
Cool, right?
And everything is done with only the TimelineView + Canvas.
How to use Canva and TimelineView for Animations in SwiftUI
I’ll leave the full example here, so you can try yourself a new project.
Check the code below:
import SwiftUI

struct ContentView: View {
    var body: some View {
        VStack {
            TimelineView(.animation) { context in
                VStack {
                    WaveView()
                        .frame(width: 405, height: 200)
                    WaveView()
                        .frame(width: 200, height: 150)
                    WaveView()
                        .frame(width: 50, height: 100)

                    MyCustomView(timeInterval: context.date.timeIntervalSince1970)
                }
            }
        }
        .padding()
    }
}

struct MyCustomView: View {
    var timeInterval: TimeInterval
    @Namespace private var namespace

    var body: some View {
        Group {
            let isCircleCentered = floor(timeInterval.truncatingRemainder(dividingBy: 2)) == 0

            if isCircleCentered {
                Circle()
                    .matchedGeometryEffect(id: "shape", in: namespace)
                    .frame(width: 200, height: 200)
            }

            Spacer()

            if !isCircleCentered {
                HStack {
                    Spacer()
                    Circle()
                        .matchedGeometryEffect(id: "shape", in: namespace)
                    .frame(width: 80, height: 80)
                }
            }
        }.animation(.linear, value: timeInterval)
    }
}

struct WaveView: View {
    var body: some View {
        TimelineView(.animation) { timeline in
            Canvas { context, size in
                let angle = Angle.degrees(timeline.date.timeIntervalSinceReferenceDate.remainder(dividingBy: 4) * 180)
                let cos = (cos(angle.radians)) * 25
                let sin = (sin(angle.radians)) * 19

                let width = size.width
                let height = size.height

                context.fill(Path(CGRect(origin: .zero, size: size)), with: .color(.white))

                let path = Path { path in
                    path.move(to: CGPoint(x: 0 , y: size.height/2 ))
                    path.addCurve(to: CGPoint(x: width, y: size.height/2),
                                  control1: CGPoint(x: width * 0.4 , y: height * 0.2 - cos),
                                  control2: CGPoint(x: width * 0.6 , y: height * 0.8 + sin))
                }

                context.stroke(
                    path,
                    with: .linearGradient(Gradient(colors: [.red, .blue]),
                                          startPoint: .zero ,
                                          endPoint: CGPoint(x: size.width, y: size.height)
                                         ), lineWidth: 2
                )
            }
        }
    }
}
Summary – TimelineView in SwiftUI: Animations with Canvas and MatchedGeometryEffect
Today we learned two techniques of animations using TimelineView. One using Canvas and another one using matchedGeometryEffect. Which one did you enjoy most?
I really liked the sound wave effect and how easy was to create such a smooth animation with the tools that we have nowadays. I think as time goes by we can create a great user experience by writing less code.
Fellow Apple Developers, that’s all. I hope you liked reading this article as much as I enjoyed writing it.
If you want to support this blog you can Buy Me a Coffee or say hello on Twitter. I’m available on LinkedIn or send me an e-mail through the contact page.
You can likewise sponsor this blog so I can get my blog free of ad networks.
Thanks for the reading and… That’s all folks.
Image credit: Featured Painting


