Hallo bomen en bloemen, Leo hier. Today we will talk about number text animation in SwiftUI.
I’m finally back. I took some “vacation time” and now the show must go on.
If you work for a really big company, it is not unusual to be constrained to what other areas demand. For example, when I worked on small startups I had more freedom to create animations and change things on the design side than when I worked on bigger companies that already have complete Design Systems in place.
I’m not saying that the Design System is the source of evil because thinking at scale there’s no other alternative to have a common UI/UX throughout the app. Having a Design System in a medium/big company for the mobile craft is a must, otherwise, the app would look like a Frankenstein. One team could decide that the accent color is light orange, the other team could decide for dark orange, all the buttons wouldn’t look the same and in the end, the users would be confused.
However, even with Design Systems in place you as an iOS developer can and should suggest visual improvements, especially if they are easy to implement. If you can make your app experience better and it’s easy, why not try that? You as the specialist in your craft should know what is the best native way to do things and how the experience could be improved, even if that is not present or against the current Design System.
For iOS developers aiming to refine their app designs, delving into the essentials of SwiftUI alignment guides is crucial. This comprehensive guide shows the path to mastering UI layouts, ensuring applications not only function flawlessly but also captivate visually.
Also if you are on enhancing app quality and maintainability will find great value in understanding Swift’s ‘testable’ annotation. This article offers insights into crafting more testable code, facilitating robust unit testing, and fostering better app architectures. Embracing these practices ensures higher code reliability and efficiency, making it a must-read for developers committed to excellence in Swift programming.
No more talking, let’s code! But first…
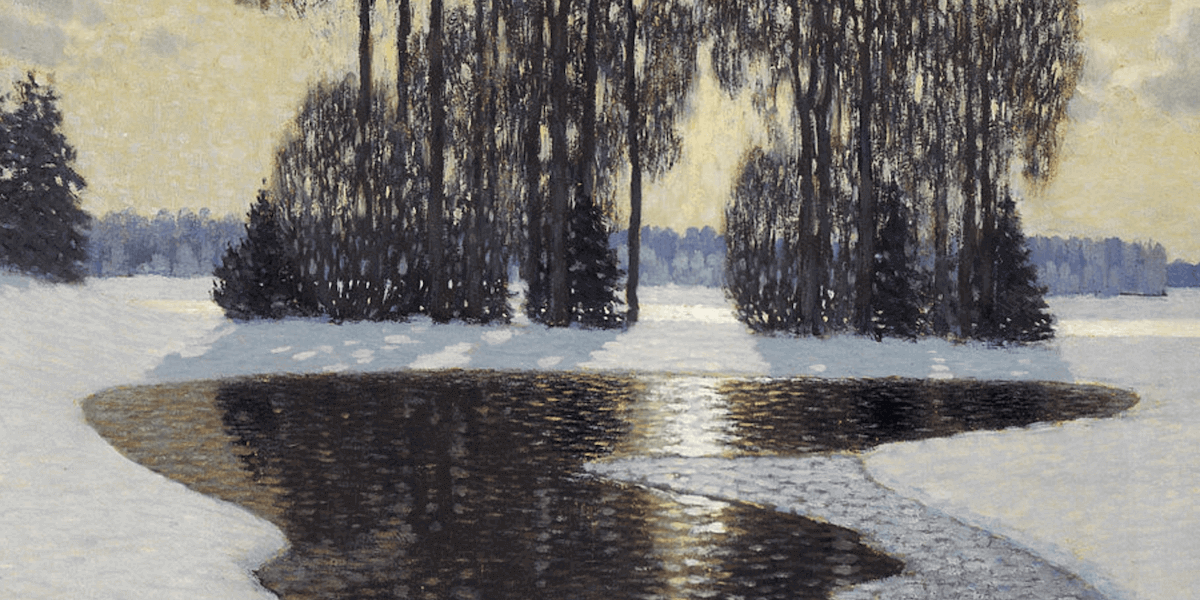
Painting Of The Day
The 1910 “Winter” painting by Vilhelms Purvitis, showcases a snowy landscape with a partially frozen river, tree clusters, and the evening sun, resides in the Latvian National Museum of Art in Riga’s collection.
I chose this painting because it represents the season that passed by, let the Spring come!
The Problem – How to Implement Number Text Animation in SwiftUI?
You have a text label that the number changes throughout some conditions. You want to animate that change and should be really smooth.
First of all, let’s show what we want to achieve today.
Observe that the numbers animations have this feeling of countdown’ish. That’s not a coincidence, we are going to use an API made for countdown animations, which can be used for any animation of numbers.
We will use a really interesting SwiftUI API called contentTransition today. The contentTransition(_:) modifier in SwiftUI is used for applying custom transitions to a view’s content. By utilizing this modifier, we can specify how a view’s content appears or disapears when the view’s state changes. This is particularly useful for creating dynamic and visually engaging user interfaces where elements transition smoothly between different states.
And that’s exactly what we need. As we are modifying the view state we want to smoothly animate the difference with a nice custom animation for numbers.
Implementing Number Text Animation in SwiftUI
To achieve the animation above we need three steps:
- Add a variable that will change throughout an event.
- Animate the change.
- Add the content transition modifier to the view showing that variable.
Check the code below and see how simple is
import SwiftUI

struct ContentView: View {

    @State var randomNumber = 0

    var body: some View {
        VStack {
             Text("Your Number")
                 .font(.largeTitle)
                 .bold()

            Text("\(randomNumber)")
                .contentTransition(.numericText())
                .font(.largeTitle)

             Button {
                 newRandomNumber()
             } label: {
                 Text("New Random Number")
             }.buttonStyle(.borderedProminent)
         }
    }

    private func newRandomNumber() {
        withAnimation {
            randomNumber = Int.random(in: 0...100)
        }
    }
}
In the code above I highlighted all the steps needed to achieve the animation but let’s go through them one by one.
First, we are declaring a state variable that will change randomly given the user taps the button on the screen. The second step was creating a function that would randomly change the number variable, the only caveat here is that you need to animate that change.
The last step is to add the .contentTransition(.numericText()) to the text label showing and this is what tells to SwiftUI framework to beautifully animate the numbers. If you don’t add that, SwiftUI will just animate as a “fade out – fade in” style.
And with that, we are done for today!
Conclusion – Animating Numbers in SwiftUI with contentTransition
I’m really glad to be back writing to you and hearing your feedback. Remember folks, learning is just a journey to infinity. In today’s exploration into number text animation demonstrates just how simple yet effective this tool can be in enhancing the user experience.
By following the outlined steps—defining a variable, animating its change, and applying the contentTransition modifier—we’ve seen firsthand the seamless integration and smooth animation effects that can be achieved. This technique not only enriches the visual appeal of an app but also underscores the importance of attention to detail in design, ensuring that even the smallest elements contribute to a cohesive and user-friendly interface.
So, whether you’re working within the constraints of a Design System or have the freedom to experiment on smaller projects, remember that innovations like these can make a significant difference in how users perceive and interact with your application.
Fellow iOS Developers, that’s all. I hope you liked reading this article as much as I enjoyed writing it.
If you want to support this blog you can Buy Me a Coffee or say hello on Twitter. I’m available on LinkedIn or send me an e-mail through the contact page.
You can likewise sponsor this blog and help our community to grow.
Thanks for the reading and…
That’s all folks.
Image credit: Featured Painting


