Hallo vrienden, Leo hier. Today’s topic is how to do Sound Stream Analysis Using AI in Swift and iOS with examples of sound classification.
In iOS 15 Apple released a built-in sound classification tool with a pre-trained model. It’s amazing that from now on all developers of the world will have a built-in tool that can guess what type of sound the iPhone is capturing.
When we talk about AI, one of the steps to get any result is to create a very good model. The model will be used to compare results and to achieve the level of confidence within the analysis. This is why the new API is so handy and Apple gave us an already trained model with more than 200+ sound classes. This is a big shortcut for anyone trying to capture sounds and make great interaction with them.
Let’s code and check how easy is to implement this but first…
The Painting of The Day
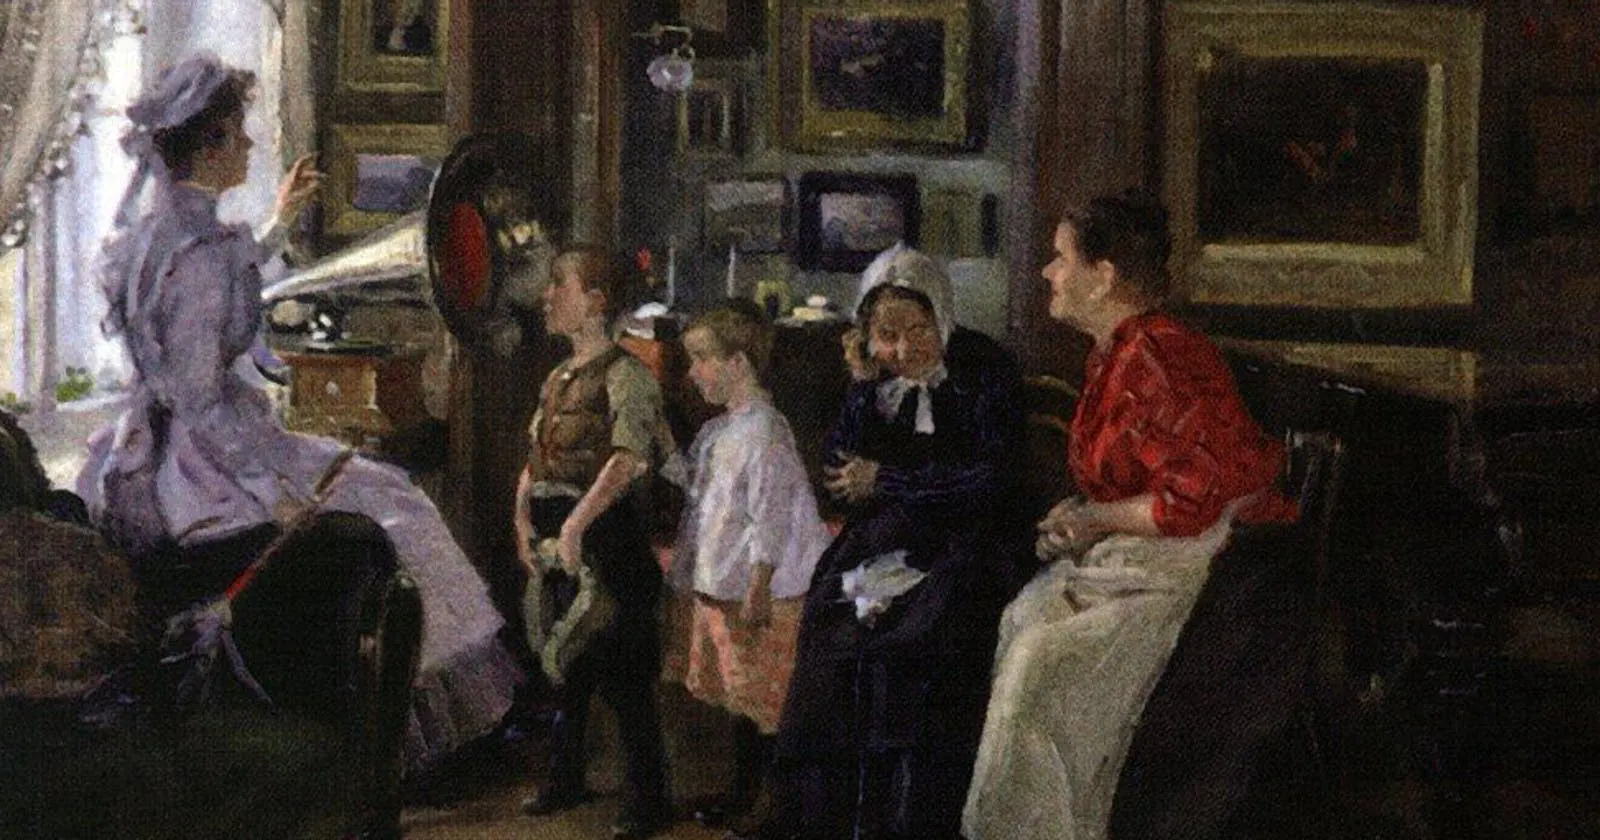
This is a 1910 masterpiece called Listening to the Gramophone of Vladimir Yegorovich Makovsky. He lived from 1846 to 1920, was a Russian painter, art collector, and teacher. Makovsky was the son of collector, Egor Ivanovich Makovsky, who was one of the founders of the Moscow Art School. Vladimir studied at the Moscow School of Painting, Sculpture, and Architecture. He finished his studies in 1869 and the following year became one of the founding members of the Association of Travelling Art Exhibitions, where his many years of prolific work brought him to a leading position. His work was defined by perpetual humor as well as blatant irony and scorn.
I choose this painting because of the gramophone. We are talking about iPhone listening to us it seems very suitable for something that looks like a big ear, isn’t it?
The Problem – Sound Stream Analysis Using AI in Swift
You were assigned to use iPhone to listen stream of sounds and classify them.
So the first thing is to read all the docs and the Apple Tutorial. And it’s very important to notice that the motivation of this post is this WWDC21 talk about sound analysis. Apple always brings content free to all developers to inspire and push forward new ideas.
Our goal here is to listen to and classify streams of sounds.
First, download the Xcode 13+ and start a new iOS project with storyboards.
As you will listen to the user microphone you must add a description for the NSMicrophoneUsageDescription key in your project’s Info.plist file. As the image is shown below with the message please let me use the mic:

After that info.plist setup, you must import in your ViewController this framework:
import AVFAudio
import SoundAnalysis
The imports here are pretty obvious. One to use the mic and listen to the stream of sound, and the other to analyze the stream captured.
Now create this property in the ViewController:
private let audioEngine: AVAudioEngine = AVAudioEngine() // Mark 1
private let inputBus: AVAudioNodeBus = AVAudioNodeBus(0) // Mark 2
private var inputFormat: AVAudioFormat!
private var streamAnalyzer: SNAudioStreamAnalyzer!
private let resultsObserver = SoundResultsObserver() // Mark 3
private let analysisQueue = DispatchQueue(label: "com.example.AnalysisQueue")
On Mark 1 we are creating the audioEngine that will be used to generate and process audio signals and perform audio input and output. Mark 2 we are just creating a bus where the audio can be processed. And on Mark 3 we’ll create a class that receives the sound analysis.
You don’t have the SoundResultsObserver yet so let’s create it in another file.
Create a Sound Result Observer
Create a file called SoundResultsObserver.swift and copy-paste the code below:
import Foundation
import SoundAnalysis

class SoundResultsObserver: NSObject, SNResultsObserving {

    func request(_ request: SNRequest, didProduce result: SNResult) { // Mark 1

        guard let result = result as? SNClassificationResult else { return } // Mark 2

        guard let classification = result.classifications.first else { return } // Mark 3

        let timeInSeconds = result.timeRange.start.seconds // Mark 4

        let formattedTime = String(format: "%.2f", timeInSeconds)
        print("Analysis result for audio at time: \(formattedTime)")

        let confidence = classification.confidence * 100.0
        let percentString = String(format: "%.2f%%", confidence)

        print("\(classification.identifier): \(percentString) confidence.\n") // Mark 5
    }

    func request(_ request: SNRequest, didFailWithError error: Error) {
        print("The the analysis failed: \(error.localizedDescription)")
    }

    func requestDidComplete(_ request: SNRequest) {
        print("The request completed successfully!")
    }
}
Mark 1 is the callback that will receive the sounds already classified. Problems can happen and no sound has been classified but we have the guard statements for that!
Mark 2 is our checkpoint to get the classified results and in mark 3 we only get the first from the list of SNClassification objects because it is the most assertive guess. You may look into other SNClassification objects if you need a deeper look at everything that is captured by the microphone.
Mark 4 explains how you can get the time of the capture inside the stream. And Mark 5 is an example that you can identify some sounds with a certain confidence level. This observer class will be responsible to receive the results of sound analysis.
Listening to sounds and analyzing them in Swift
So now the project builds and runs again we can go back to the ViewController and add some code to the viewDidLoad. Replace your viewDidLoad for this:
override func viewDidLoad() {
    super.viewDidLoad()

    inputFormat = audioEngine.inputNode.inputFormat(forBus: inputBus) // Mark 1

    do {
        try audioEngine.start() // Mark 2

        audioEngine.inputNode.installTap(onBus: inputBus,
                                         bufferSize: 8192,
                                         format: inputFormat, block: analyzeAudio(buffer:at:)) // Mark 3

        streamAnalyzer = SNAudioStreamAnalyzer(format: inputFormat) // Mark 4

        let request = try SNClassifySoundRequest(classifierIdentifier: SNClassifierIdentifier.version1) // Mark 5

        try streamAnalyzer.add(request,
                               withObserver: resultsObserver) // Mark 6


    } catch {
        print("Unable to start AVAudioEngine: \(error.localizedDescription)")
    }

}
The code is not building yet but waits a minute. Let’s explain what’s going on first:
- Mark 1– Returns the input format for the specified bus. We need to know the audio format to be able to handle it in the future.
- Mark 2 – Literally starts the audio engine.
- Mark 3 – Installs an audio tap on the bus to record, monitor, and observe the output of the node. It receives the inputBus, the requested size of the incoming buffers, the inputFormat, and closure to handle the buffer listened.
- Mark 4 – An audio file analyzer generates a SNResult each time any of its active requests recognizes a sound. With this analyzer you can run a SNRequest on an audio stream, that’s our main goal.
- Mark 5 – This is where the magic happens. You can request that classify sound using a Core ML model. The big thing here is that Apple has an out-of-the-box solution for common sounds, the SNClassifierIdentifier.version1 is a model already embedded in iOS 15 for use! How cool is that!?
- Mark 6 – Now you have to try to add the request to the streamAnalyzer giving the resultsObserver as a callback to it.
And finally, add this function in the View Controller:
func analyzeAudio(buffer: AVAudioBuffer, at time: AVAudioTime) {
    analysisQueue.async {
        self.streamAnalyzer.analyze(buffer,
                                    atAudioFramePosition: time.sampleTime)
    }
}
We made it async to not block the UI or any other user input. But you can make it without the async queue too.
Now build and run in an iOS 15+ simulator/device and you should observe something look like this in the console:
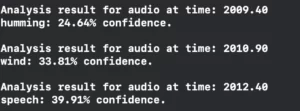
That’s it! We finished the project!
Summary – Sound Stream Analysis Using AI in Swift
Today we explore how apple has embedded a ML Model with various sounds that you can use to analyse sounds right out of the box in iOS 15. It’s amazing all the possibilities that we can do with this kind of technology!
That’s all my people, I hope you liked reading this article as much as I enjoyed writing it. If you want to support this blog you can Buy Me a Coffee or leave a comment saying hello. You can also sponsor posts and I’m open to freelance writing! You can reach me on LinkedIn or Twitter and send me an e-mail through the contact page.
Thanks for reading and… That’s all folks.
Credits:


